10 July, 2025
Over the past few years, large-format tiles have transformed the thinking of homeowners and designers in regard to interior surfaces. These large tiles are becoming a trend in building modern houses and commercial buildings due to their sleek texture and the capability of generating smooth tiles design and layout. Proper planning and tips on large-format tile installation however are fundamental to their full potential. This blog will provide you with some key knowledge on how to install large-format tiles so that you can nail that perfect finish.
What Is a Large-Format Tile?
Any tile longer than 15 inches (approximately 380 mm) on one of its sides is called a large-format tile. These tiles are usually in rectangular and square shape and they are also in a size of 600 x 1200 mm, 800 x 800 mm and even 800 x 2400 mm slab tiles. Large-Format tiles that used to be suitable exclusively for business premises or rooms of generous size, gained popularity in residential spaces too because of the visual representation nowadays and functionality advantages.
Advantages of Large-Format Tiles
Minimal Grout Lines
Among the outstanding advantages of large floor and wall tiles is that there are fewer lines of grouting. The limited number of joints also gives you a smooth, clean tile-spread that expands the feeling of space. These tiles also provide additional durability and simpler tile maintenance on walls because there is less tile cleaning, especially grouts.
Ease of Maintenance
Grout lines are difficult to clean, especially in places such as the bathroom where a lot of moisture occurs. Making the minimize this hassle, maximizing your cleaning process and minimizing chances of mildew and stains.
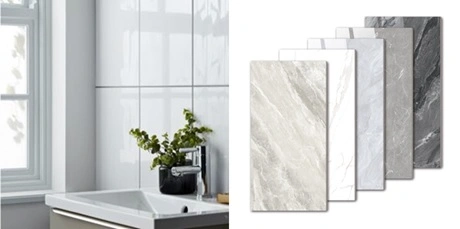
Modern Appeal
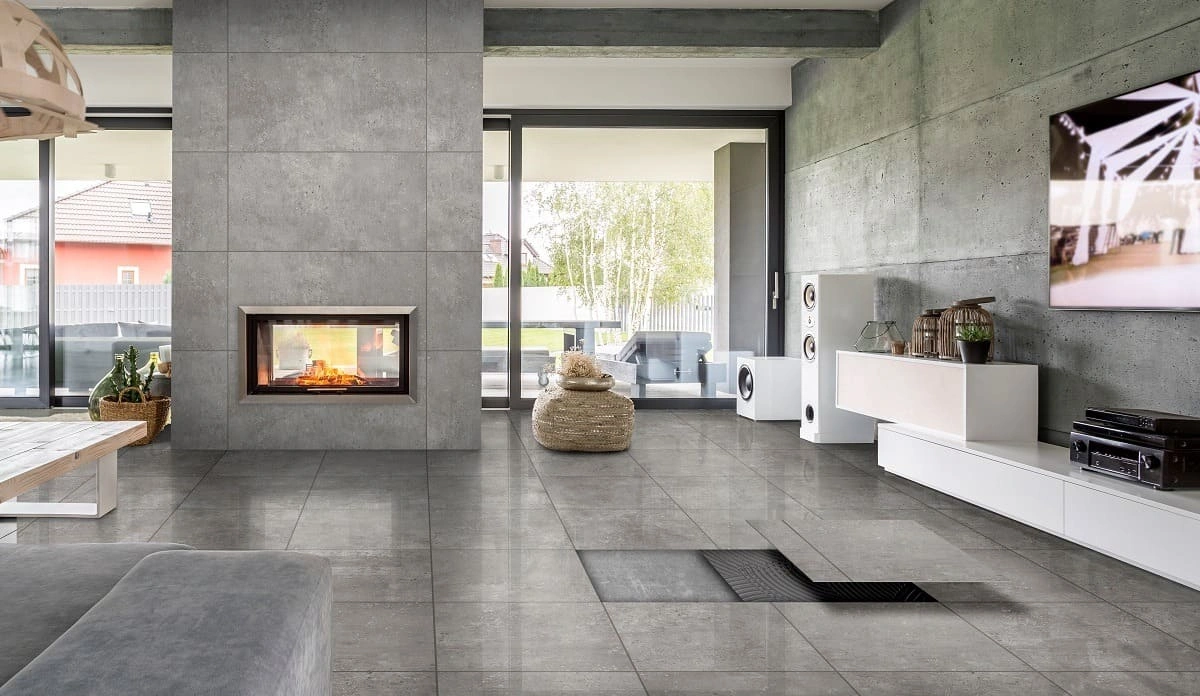
The large-format tiles provide a modern and sleek appearance with the ability to make any room lighter, feel spacious, and larger. Due to the advent of modern printing capabilities, they are now offered in a variety of designs; some that replicate the look of real products, like wood and stone.
Pro Tip: Use the same tile on both floors and walls for a seamless, expansive effect. Color-matching the grout with your tiles can further enhance the illusion of space.
Step-by-Step Large-Format Tile Installation Tips
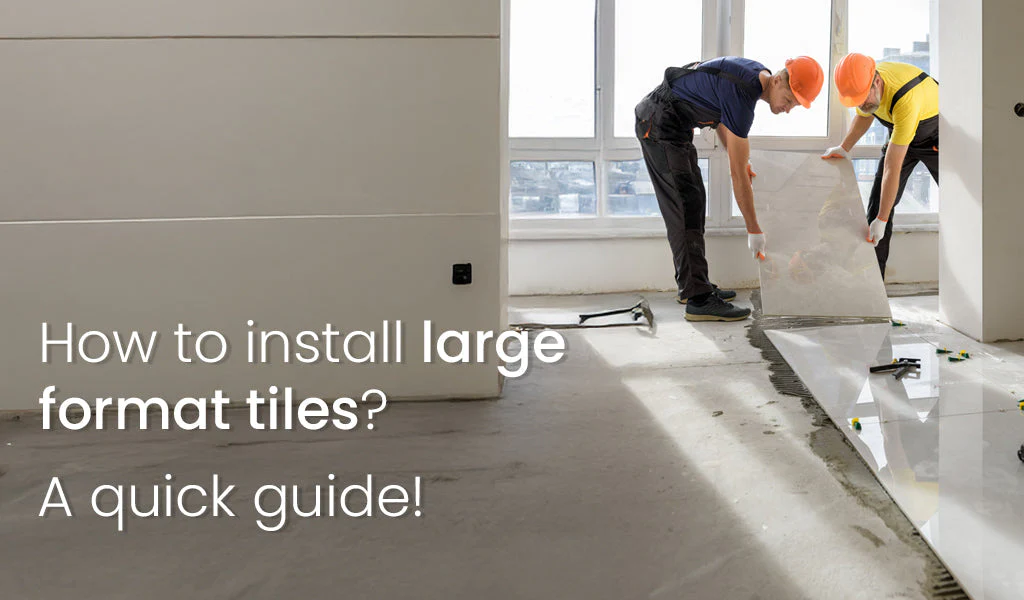
1. Surface Preparation
the substrate should be thoroughly cleaned and leveling the substrate. Minor defects may lead to breakage or tile lippage, therefore, the substrate preparation is essential.
2. Planning the Layout
-
Mark and measure the center of every wall.
-
With the help of chalk lines, divide the room into four equal portions. This assists even symmetrical positioning of the tile.
-
To see how the layout will work and to reduce the need to do uncomfortable cuts, dry-lay tiles with spacers along these lines.
3. Choosing and Applying Adhesive
-
Choose tile adhesive or mortar, which suits your particular substrate. Mix or apply as suggested by the manufacturer.
-
Mix only the amount of adhesive required to give approximately 30 minutes of working to prevent wastage and have an optimum performance.
4. Laying the Tiles
-
Begin with the middle of the room and proceed outwards to have a balanced professional appearance.
-
Insert tile spacers to keep the grout lines at a constant.
-
Force all the tiles into the glue until they are completely covered and have no air pocket.
5. Cut Tiles for Tight Spaces
Achieving a clean, seamless finish in tight or awkward areas—such as corners, edges, and around fixtures—requires precision tile cutting techniques.
-
Use a manual tile cutter or wet saw for accurate straight and diagonal cuts, especially on large-format porcelain tiles or ceramic tiles.
-
Choose tile nippers or a rod saw for making curved or irregular cuts around fixtures, pipes, or corners.
-
Mark cut lines clearly before cutting to ensure precision and avoid errors.
-
Always smooth edges after cutting with a carborundum stone to eliminate sharpness and create a safe, finished edge.
-
Test-fit cut tiles before final installation to confirm proper fit and alignment in tight areas.
6. Grouting and Finishing
-
Choose a grout color that complements your tiles. Matching grout can make the space feel even larger.
-
Fill all joints completely and promptly wipe away excess grout.
-
Follow proper grouting tips for large tiles, including allowing the grout to fully cure before heavy use.
Common Mistakes to Avoid During Large-Format Tile Installation
Even experienced DIY and professionals can overlook details. Here are pitfalls to avoid:
-
Skipping surface leveling – leads to lippage and cracks
-
Using the wrong adhesive – can affect tile bonding strength
-
Neglecting expansion gaps – may cause tiles to buckle
-
Applying too much adhesive – leads to uneven tiles and longer drying time
-
Improper grout curing – may result in color inconsistencies or cracks
Key Considerations Before Installation
Proper preparation is crucial for successful large-format tile installation. Here’s what you need to keep in mind:
-
Substrate Preparation: Ensure the surface is smooth, clean, dry, and free from grease or wax. Any uneven or flaking areas must be leveled and repaired before starting.
-
Clear the Area: Remove all appliances, moldings, shelves, and furniture from the installation zone to minimize interference.
-
Door Jambs: Undercut door jambs so tiles can be easily slid underneath for a professional finish.
Large-Format Tile manufacturer
Conclusion
Large-format tiles are a game-changer for modern interiors, offering both style and practicality. By following these installation tips and best practices, you can enjoy a durable, beautiful finish that elevates any space. Whether you’re a DIY enthusiast or working with a professional, proper planning and execution are the keys to success with large-format tile installation.
As a trusted manufacturer and supplier of 600x1200 mm tiles, Alaska Surfaces delivers premium large-format tile solutions designed for both beauty and performance. Our tiles are crafted using state-of-the-art technology and are available in a wide range of finishes, textures, and patterns—ideal for contemporary interiors. Explore our curated collections and discover how Alaska Surfaces can help you transform your space with large-format elegance.